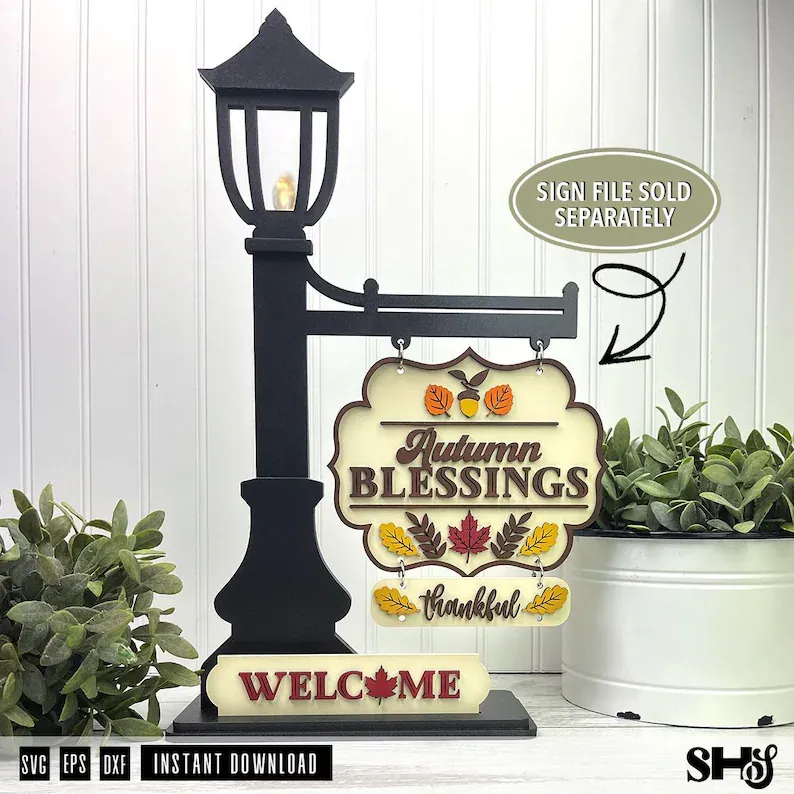
The Light Makes All the Difference
The vintage shape already gives this project plenty of character, but adding fairy lights inside the lantern takes it to another level.
It does not need to be complicated. We attached a small set of fairy lights using a Command Strip, which keeps the battery pack secure without permanently attaching it to the project.
During the day, the lamp post looks like a beautiful layered wood display. In the evening, that little glow inside the lantern makes it feel like a miniature streetlight.
It is a small detail, but it completely changes the finished look.
Interchangeable projects are popular for a reason. You get the fun of making something new without needing to find storage space for another large decoration every month.
With this design, you can keep the lamp post on display and simply swap the hanging sign.
What You Will Need
The lamp post file is designed for 6 mm material, although it can also be made by doubling pieces cut from 3 mm material. We will link the supplies we used throughout the post to make them easy to find. Some of those links are affiliate links, which means we may receive a small commission from qualifying purchases at no additional cost to you.
To complete the project, you will need:
- 6 mm wood, MDF, acrylic, or another laser-safe material (we use tempered hardboard from Home Depot)
- One 12-by-20-inch sheet and one 12-by-12-inch sheet
- Wood glue or your preferred adhesive
- Paint, stain, or another finish
- Binder rings between ¾ inch and 1 inch
- A small set of battery-operated fairy lights
- A Command Strip for attaching the light pack
- An interchangeable hanging sign
The binder-ring size can be adjusted depending on how low you would like the sign to hang and the overall look you prefer.
Cutting and Assembling the Lamp Post
The Vintage Lamp Post Sign Holder SVG was created for laser-cutting machines. The download includes SVG, DXF, and EPS file formats, along with a PDF instruction guide containing photos to help with assembly.
As always, check your material thickness and run the included kerf test before cutting the entire project. Even when two pieces of material are both labeled 6 mm, their actual thickness can vary enough to affect how tightly the tabs fit.
Once everything is cut, lightly sand any edges that need attention and decide how you would like to finish the pieces.
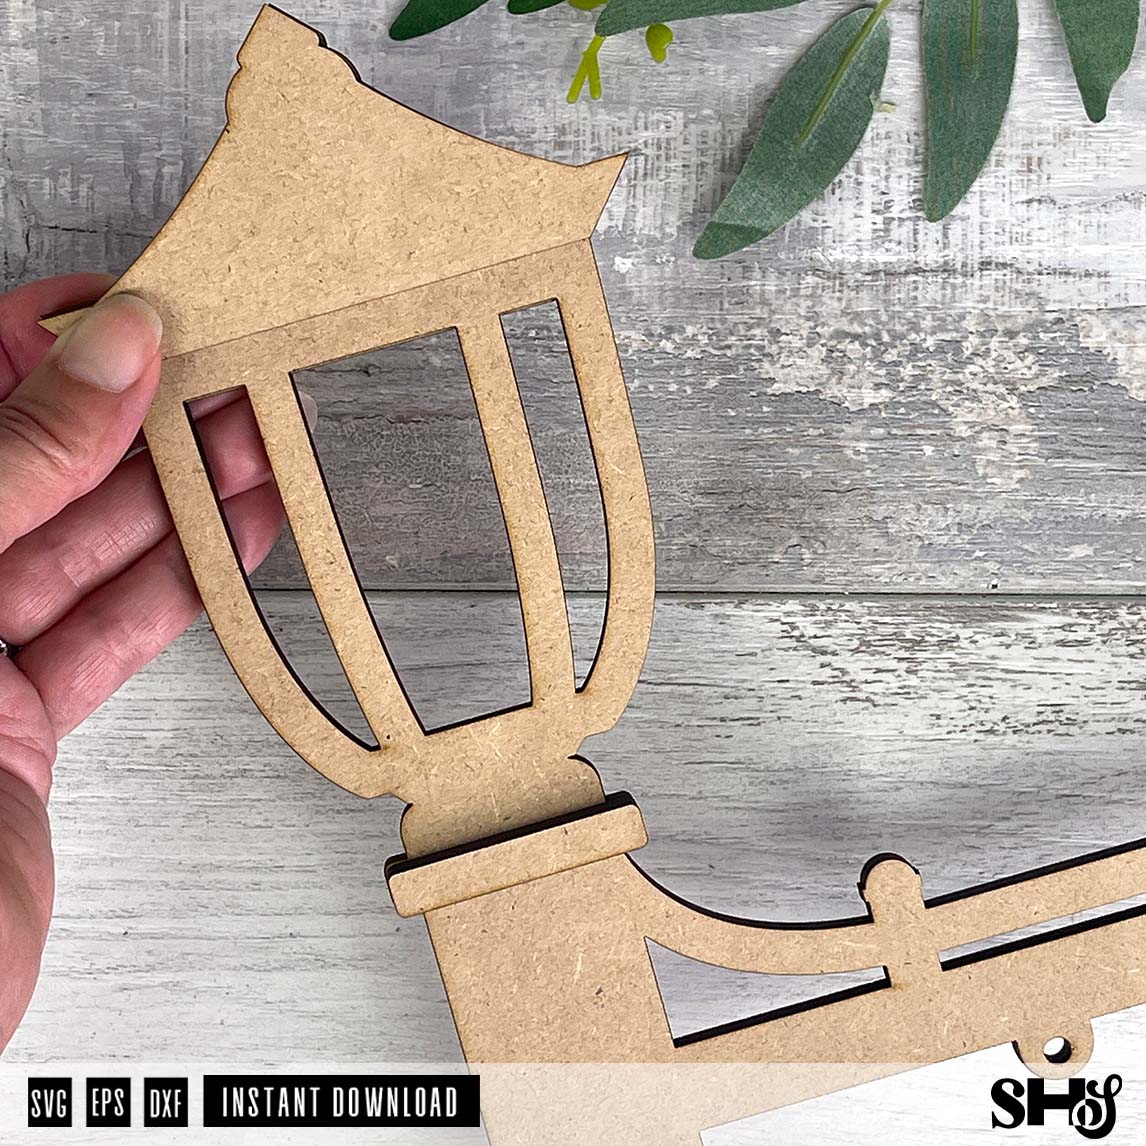
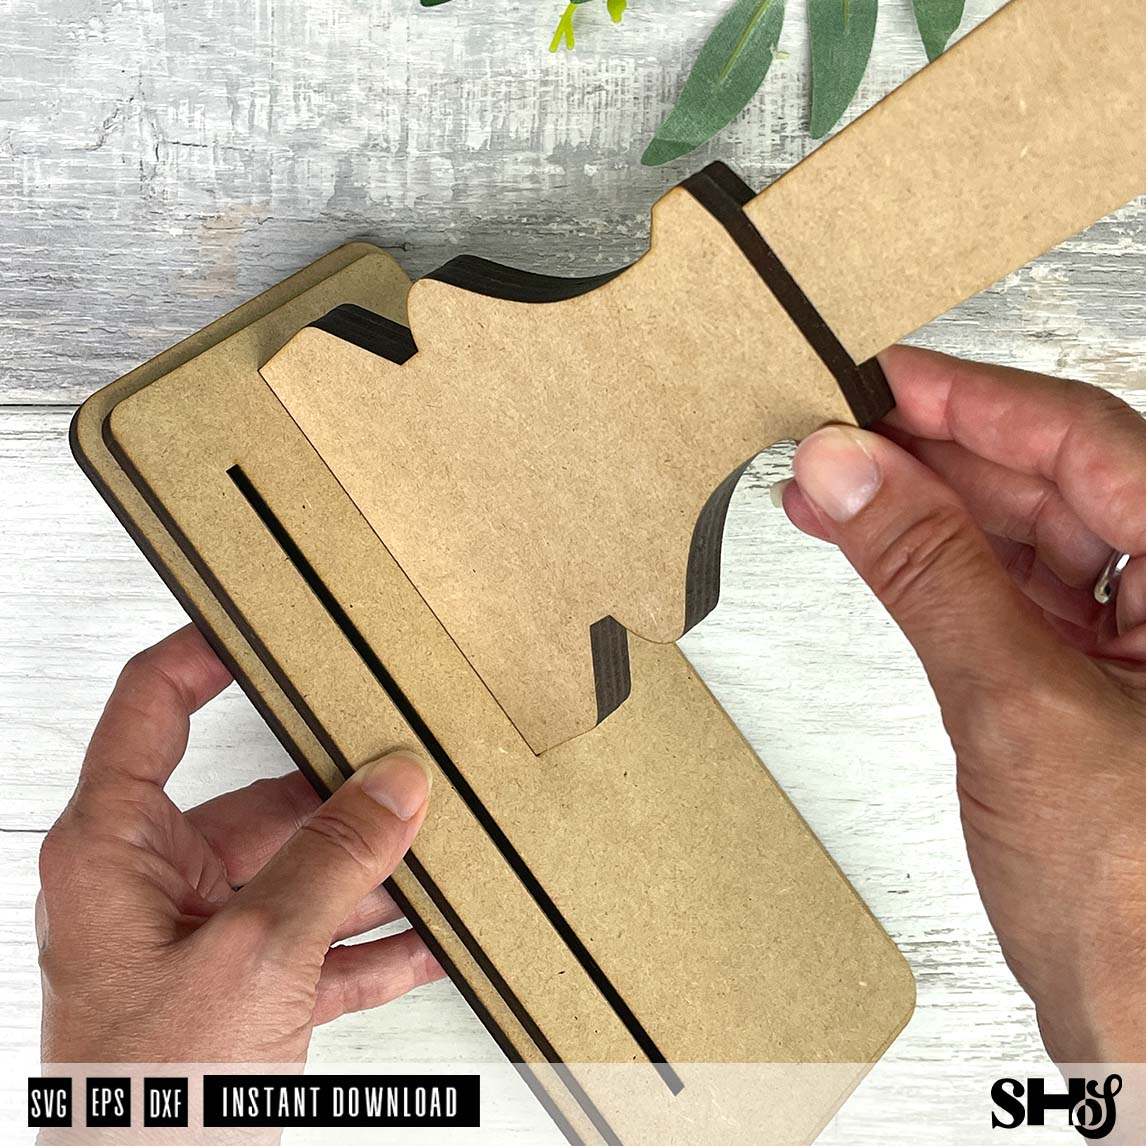
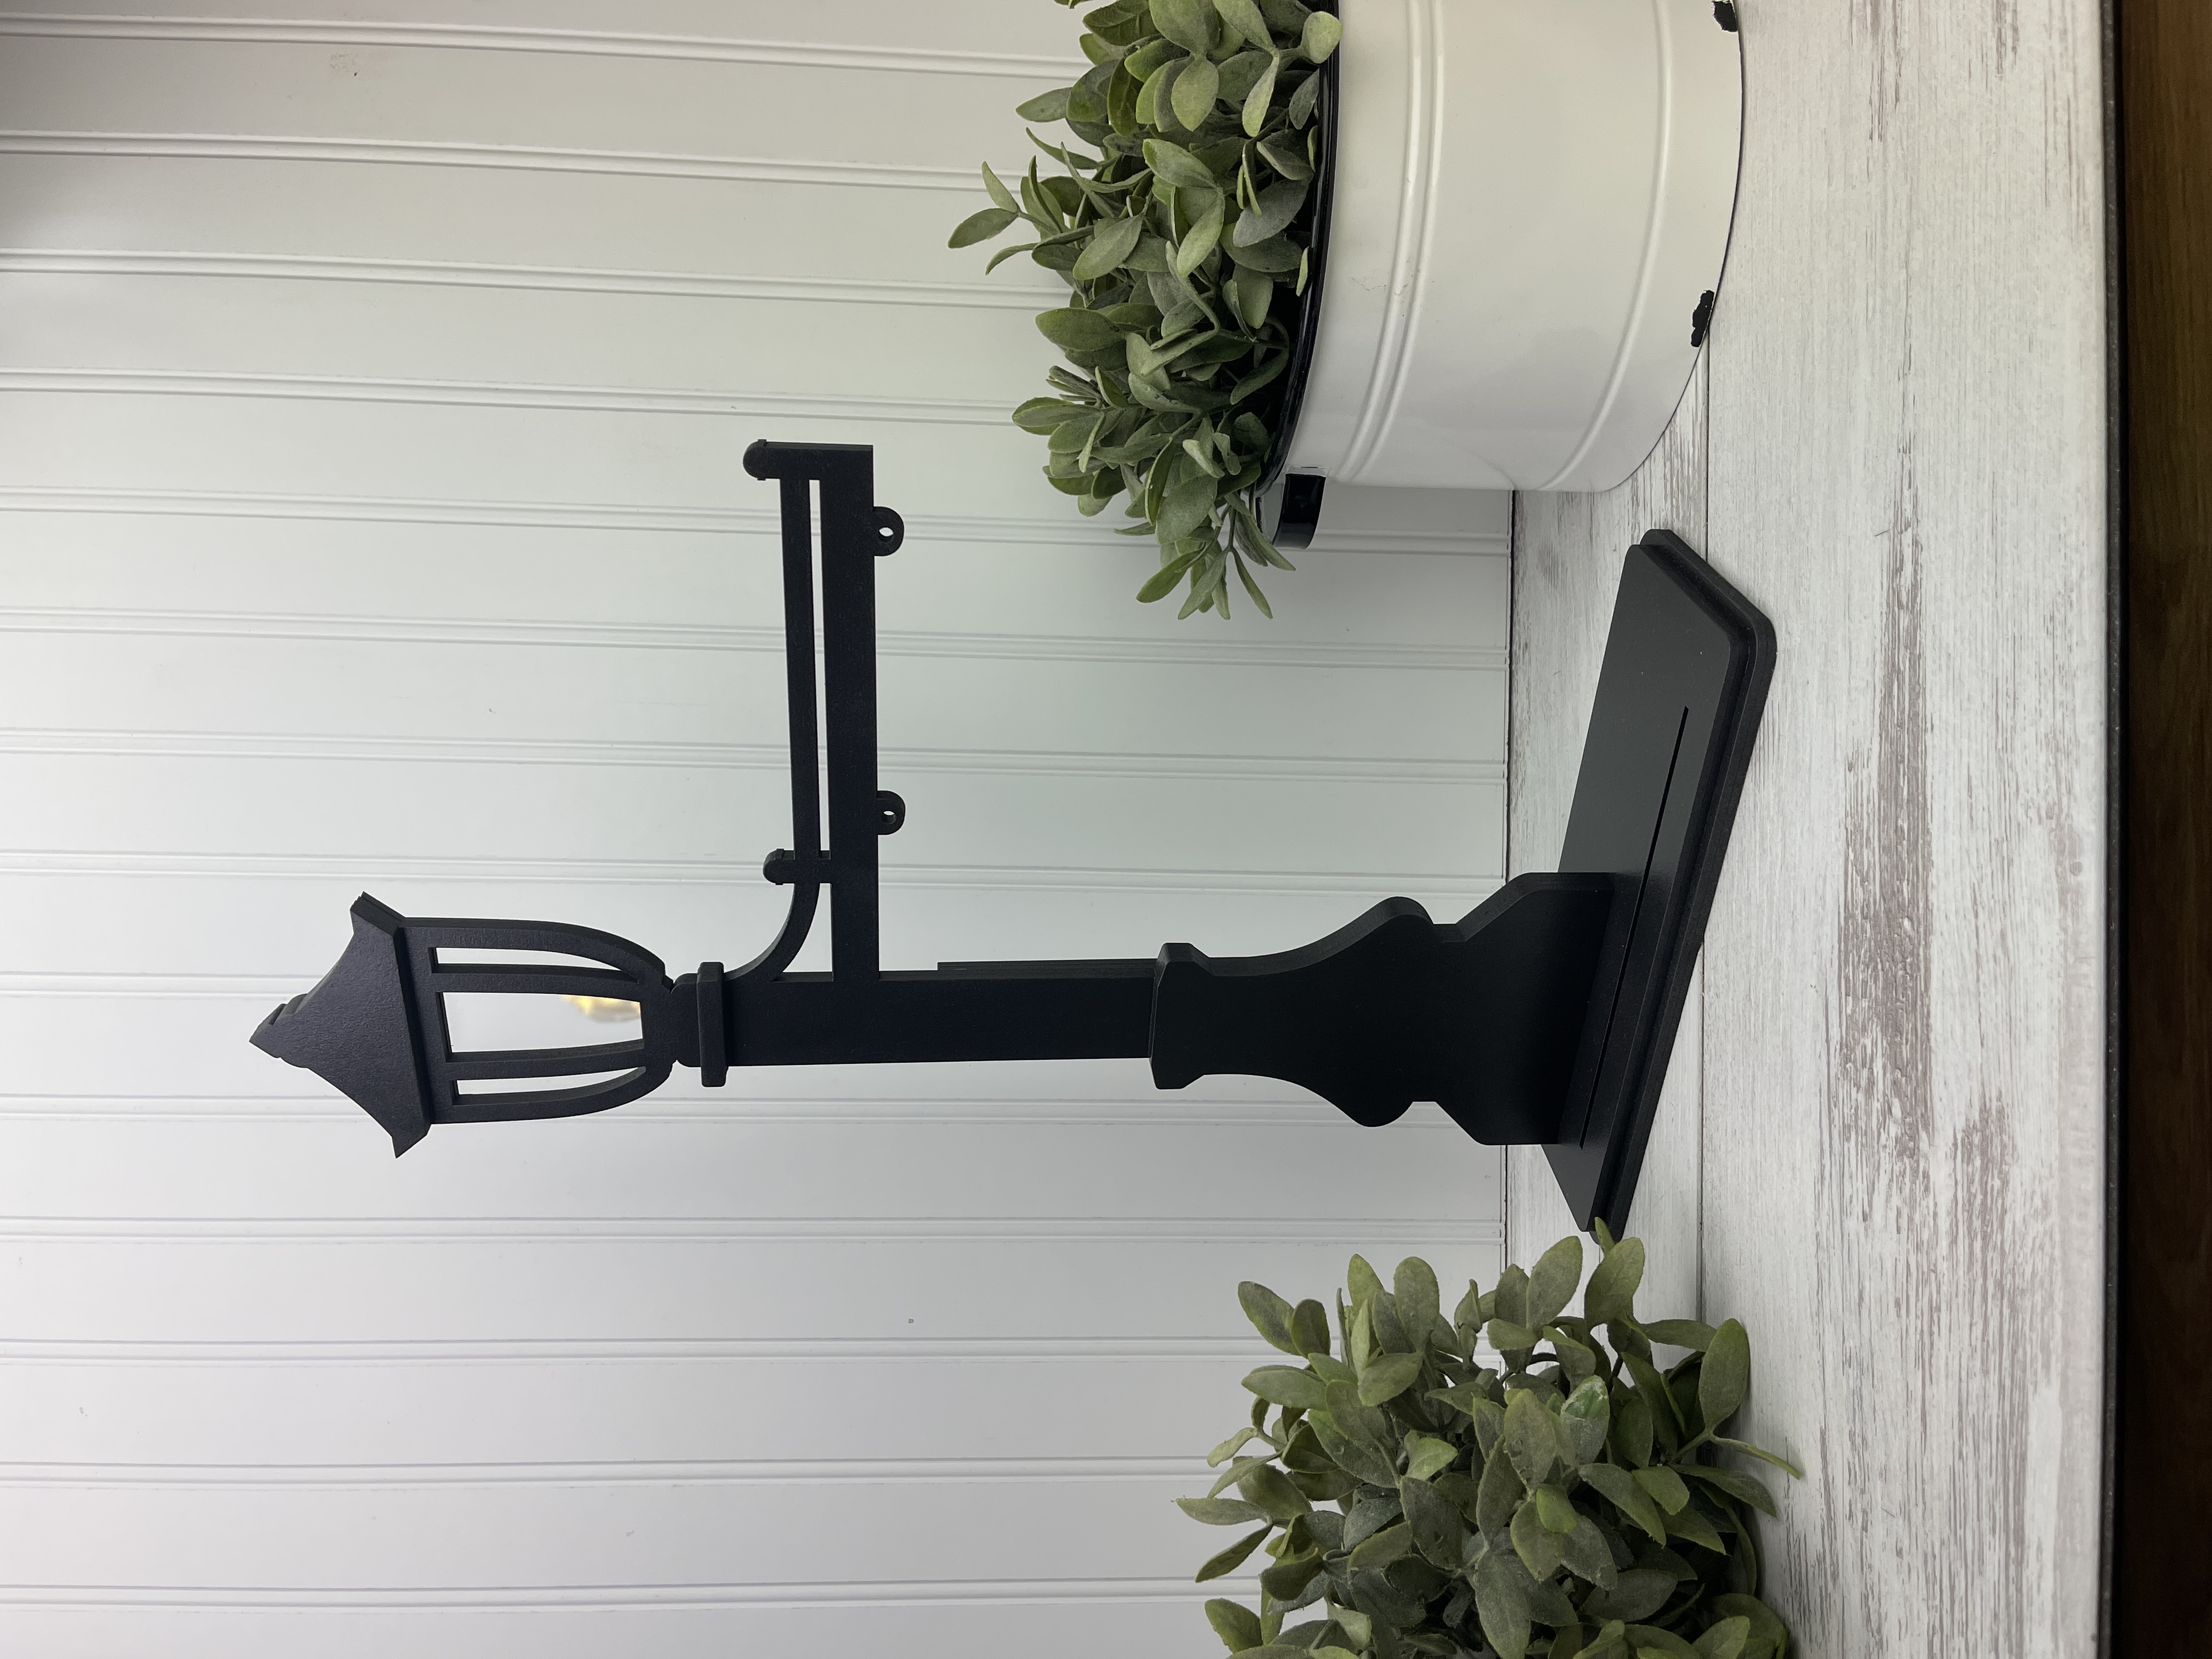
We painted our lamp post black to give it the look of old metal, but there are plenty of other directions you could take it. A deep bronze, weathered charcoal, antique white, dark green, or stained wood version could each give the design a completely different personality.
Follow the included photo directions to assemble the base, post, lantern, and hanging arm. For this project, we found it beneficial to assemble first, then spray paint the entire lamp post after it is constructed.
Add the fairy lights inside the lantern, attach the battery pack, and finish by hanging your sign with the binder rings.
Start with Fall and Build from There
The Autumn Blessings interchangeable sign is a natural first choice for this project. The warm fall colors, layered pumpkins, leaves, and acorn pair beautifully with the black lamp post, creating a display that’s perfect from the first hints of autumn all the way through Thanksgiving.
When October arrives, simply switch to our Happy Halloween interchangeable sign for a completely different look. It’s a quick change that transforms the lamp post into a fun Halloween display without rebuilding or repainting a thing.
After Halloween, swap in the Most Wonderful Time of the Year interchangeable sign to carry your lamp post right into the holiday season. In just a few minutes, your display is ready for Christmas.
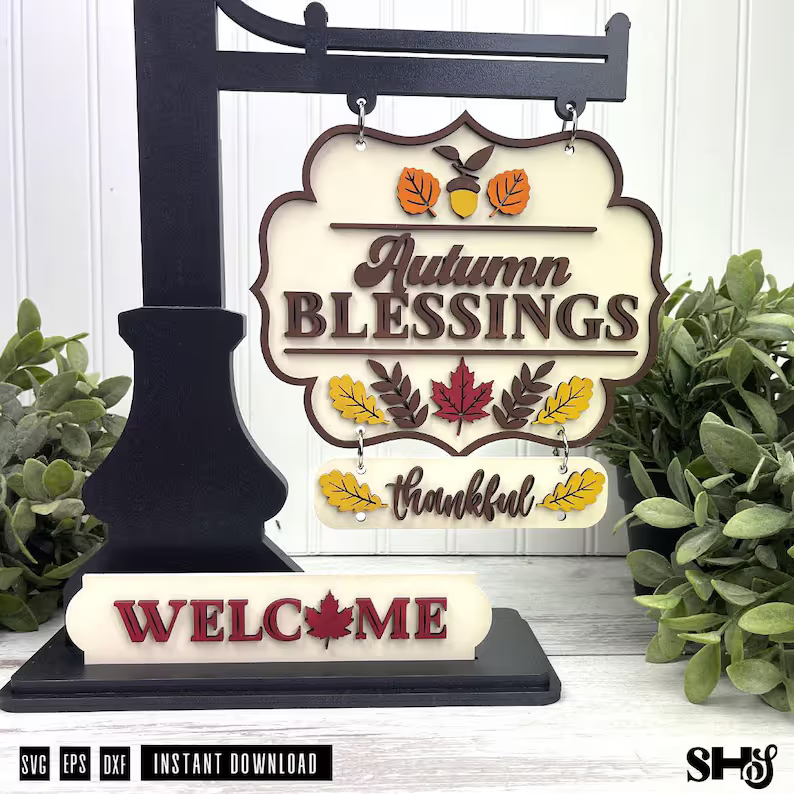
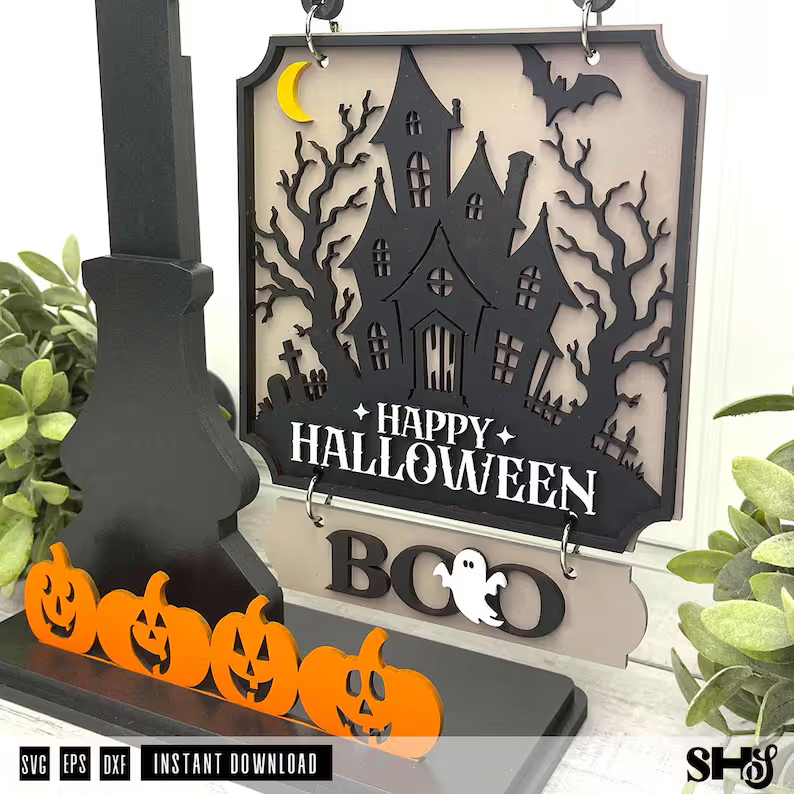
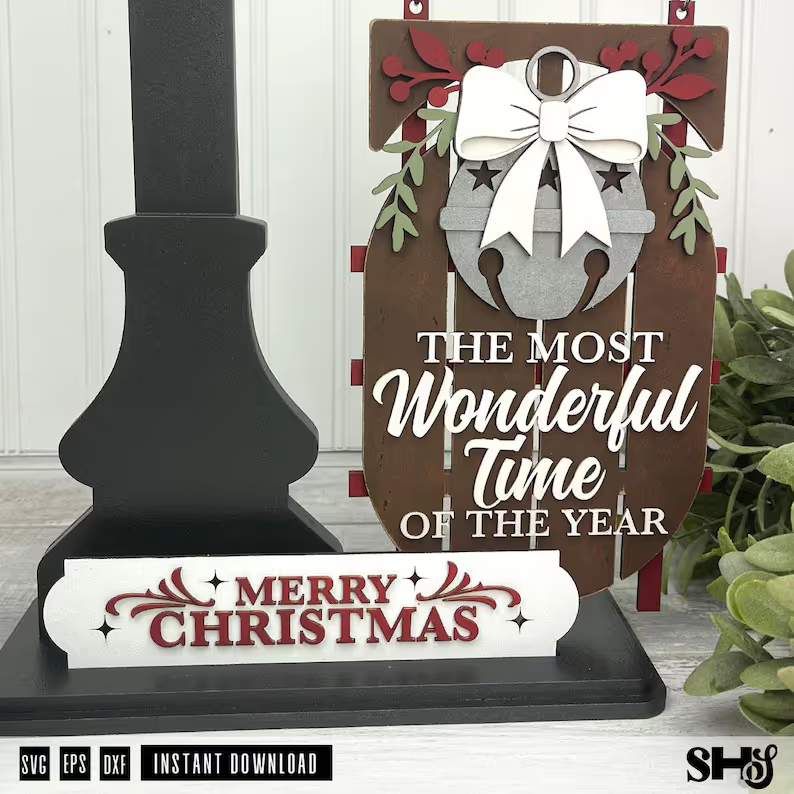
And we’re just getting started.
One of our goals for the Vintage Lamp Post is to create a display you’ll enjoy using all year long. While you’re always welcome to design your own interchangeable signs, ShapeHouse Studio will continue expanding the collection with new designs for holidays, seasons, and everyday decorating. As new signs are released, you’ll be able to refresh your display by simply changing the hanging sign while keeping the same lamp post you’ve already built. Follow ShapeHouse Studio's Etsy shop to be notified when new items drop!
Your Vintage Lamp Post can continue growing with you for years to come.
A Project That Looks More Complicated Than It Is
One of my favorite things about this lamp post is that it has a lot of visual impact without requiring an overly complicated build.
The layered lantern, curved hanger, interchangeable sign, and working light make it look like a project that took days to create. In reality, the pieces are clearly organized, the construction is straightforward, and photo directions are included to walk you through the assembly.
It is a satisfying project for experienced laser users, but it is also very manageable for someone who is still getting comfortable with layered wood designs.
Make It Once. Change It Again and Again.
The Vintage Lamp Post Sign Holder is more than a single seasonal project. It is the beginning of a display you can continue using and adding to all year long.
Keep it classic and simple, fill it with color, personalize the signs, or let ShapeHouse create an entire collection for every season.
One lamp post...a whole lot of possibilities.
You can find the Vintage Lamp Post Sign Holder SVG in the ShapeHouse Studio Etsy shop.
I am already thinking about what should hang from it next.
Dan @ ShapeHouse